Allwiner H3 Uses Fbtft To Drive St7789v
使用设备
- 全志H3 Orangepi Lite
- 中景园 IPS 240x240 1.14寸 st7789v
软件版本
- Linux - mainline 4.20.17
1.配置SPI0
- 编辑设备树文件 linux-4.20.17/arch/arm/boot/dts/sunxi-h3-h5.dtsi
- 开启SPI0 节点spi0: spi@1c68000 添加/修改属性 status = “okay”;
- 配置SPI0引脚上拉,防止电平干扰(这是个坑,调了很久发现是干扰) 节点spi0_pins: spi0 添加 bias-pull-up;
2.配置内核
2.1
│ Symbol: FB_TFT_FBTFT_DEVICE [=m] │
│ Type : tristate │
│ Prompt: Module to for adding FBTFT devices │
│ Location: │
│ -> Device Drivers │
│ -> Staging drivers (STAGING [=y]) │
│ (1) -> Support for small TFT LCD display modules (FB_TFT [=y]) │
│ Defined at drivers/staging/fbtft/Kconfig:208 │
│ Depends on: STAGING [=y] && FB_TFT [=y] │
│
2.2
│ Symbol: FB_TFT_ST7789V [=y] │
│ Type : tristate │
│ Prompt: FB driver for the ST7789V LCD Controller │
│ Location: │
│ -> Device Drivers │
│ -> Staging drivers (STAGING [=y]) │
│ (2) -> Support for small TFT LCD display modules (FB_TFT [=y]) │
│ Defined at drivers/staging/fbtft/Kconfig:156 │
│ Depends on: STAGING [=y] && FB_TFT [=y
3.添加中景园屏具体参数到fbtft驱动
3.1 编辑文件 linux-4.20.17/drivers/staging/fbtft/fbtft_device.c
移植中景园官方例程序参数置文件该文件内
static const s16 ips13_init_sequence[] = {
-1, 0x36, 0x00,
-1, 0x3A, 0x05,
-1, 0xB2, 0x0C, 0x0C, 0x00, 0x33, 0x33,
-1, 0xB7, 0x35,
-1, 0xBB, 0x19,
-1, 0xC0, 0x2C,
-1, 0xC2, 0x01,
-1, 0xC3, 0x12,
-1, 0xC4, 0x20,
-1, 0xC6, 0x0F,
-1, 0xD0, 0xA4, 0xA1,
-1, 0xE0, 0xD0, 0x04, 0x0D, 0x11, 0x13, 0x2B, 0x3F, 0x54, 0x4C, 0x18, 0x0D, 0x0B, 0x1F, 0x23,
-1, 0xE1, 0xD0, 0x04, 0x0C, 0x11, 0x13, 0x2C, 0x3F, 0x44, 0x51, 0x2F, 0x1F, 0x1F, 0x20, 0x23,
-2, 120,
-1, 0x21,
-1, 0x11,
-1, 0x29,
-3,
};
3.2 添加屏幕直设备列表 static struct fbtft_device_display displays[]
{ .name = “ips13”, .spi = &(struct spi_board_info) { .modalias = “fb_st7789v”, .max_speed_hz = 108000000, .mode = SPI_MODE_3, .platform_data = &(struct fbtft_platform_data) { .display = { .buswidth = 8, .backlight = 1, .width = 240, .height = 240, .init_sequence = ips13_init_sequence, .gamma_num = 0, .gamma_len = 0, }, .gpios = (const struct fbtft_gpio []) { { “reset”, 6 }, //PA6 { “dc”, 11 }, //PA11 { “led”, 12 }, //PA12 {}, }, } } },
4.编译内核
- 编译内核
- 拷贝相关编译目标文件置目标文件系统
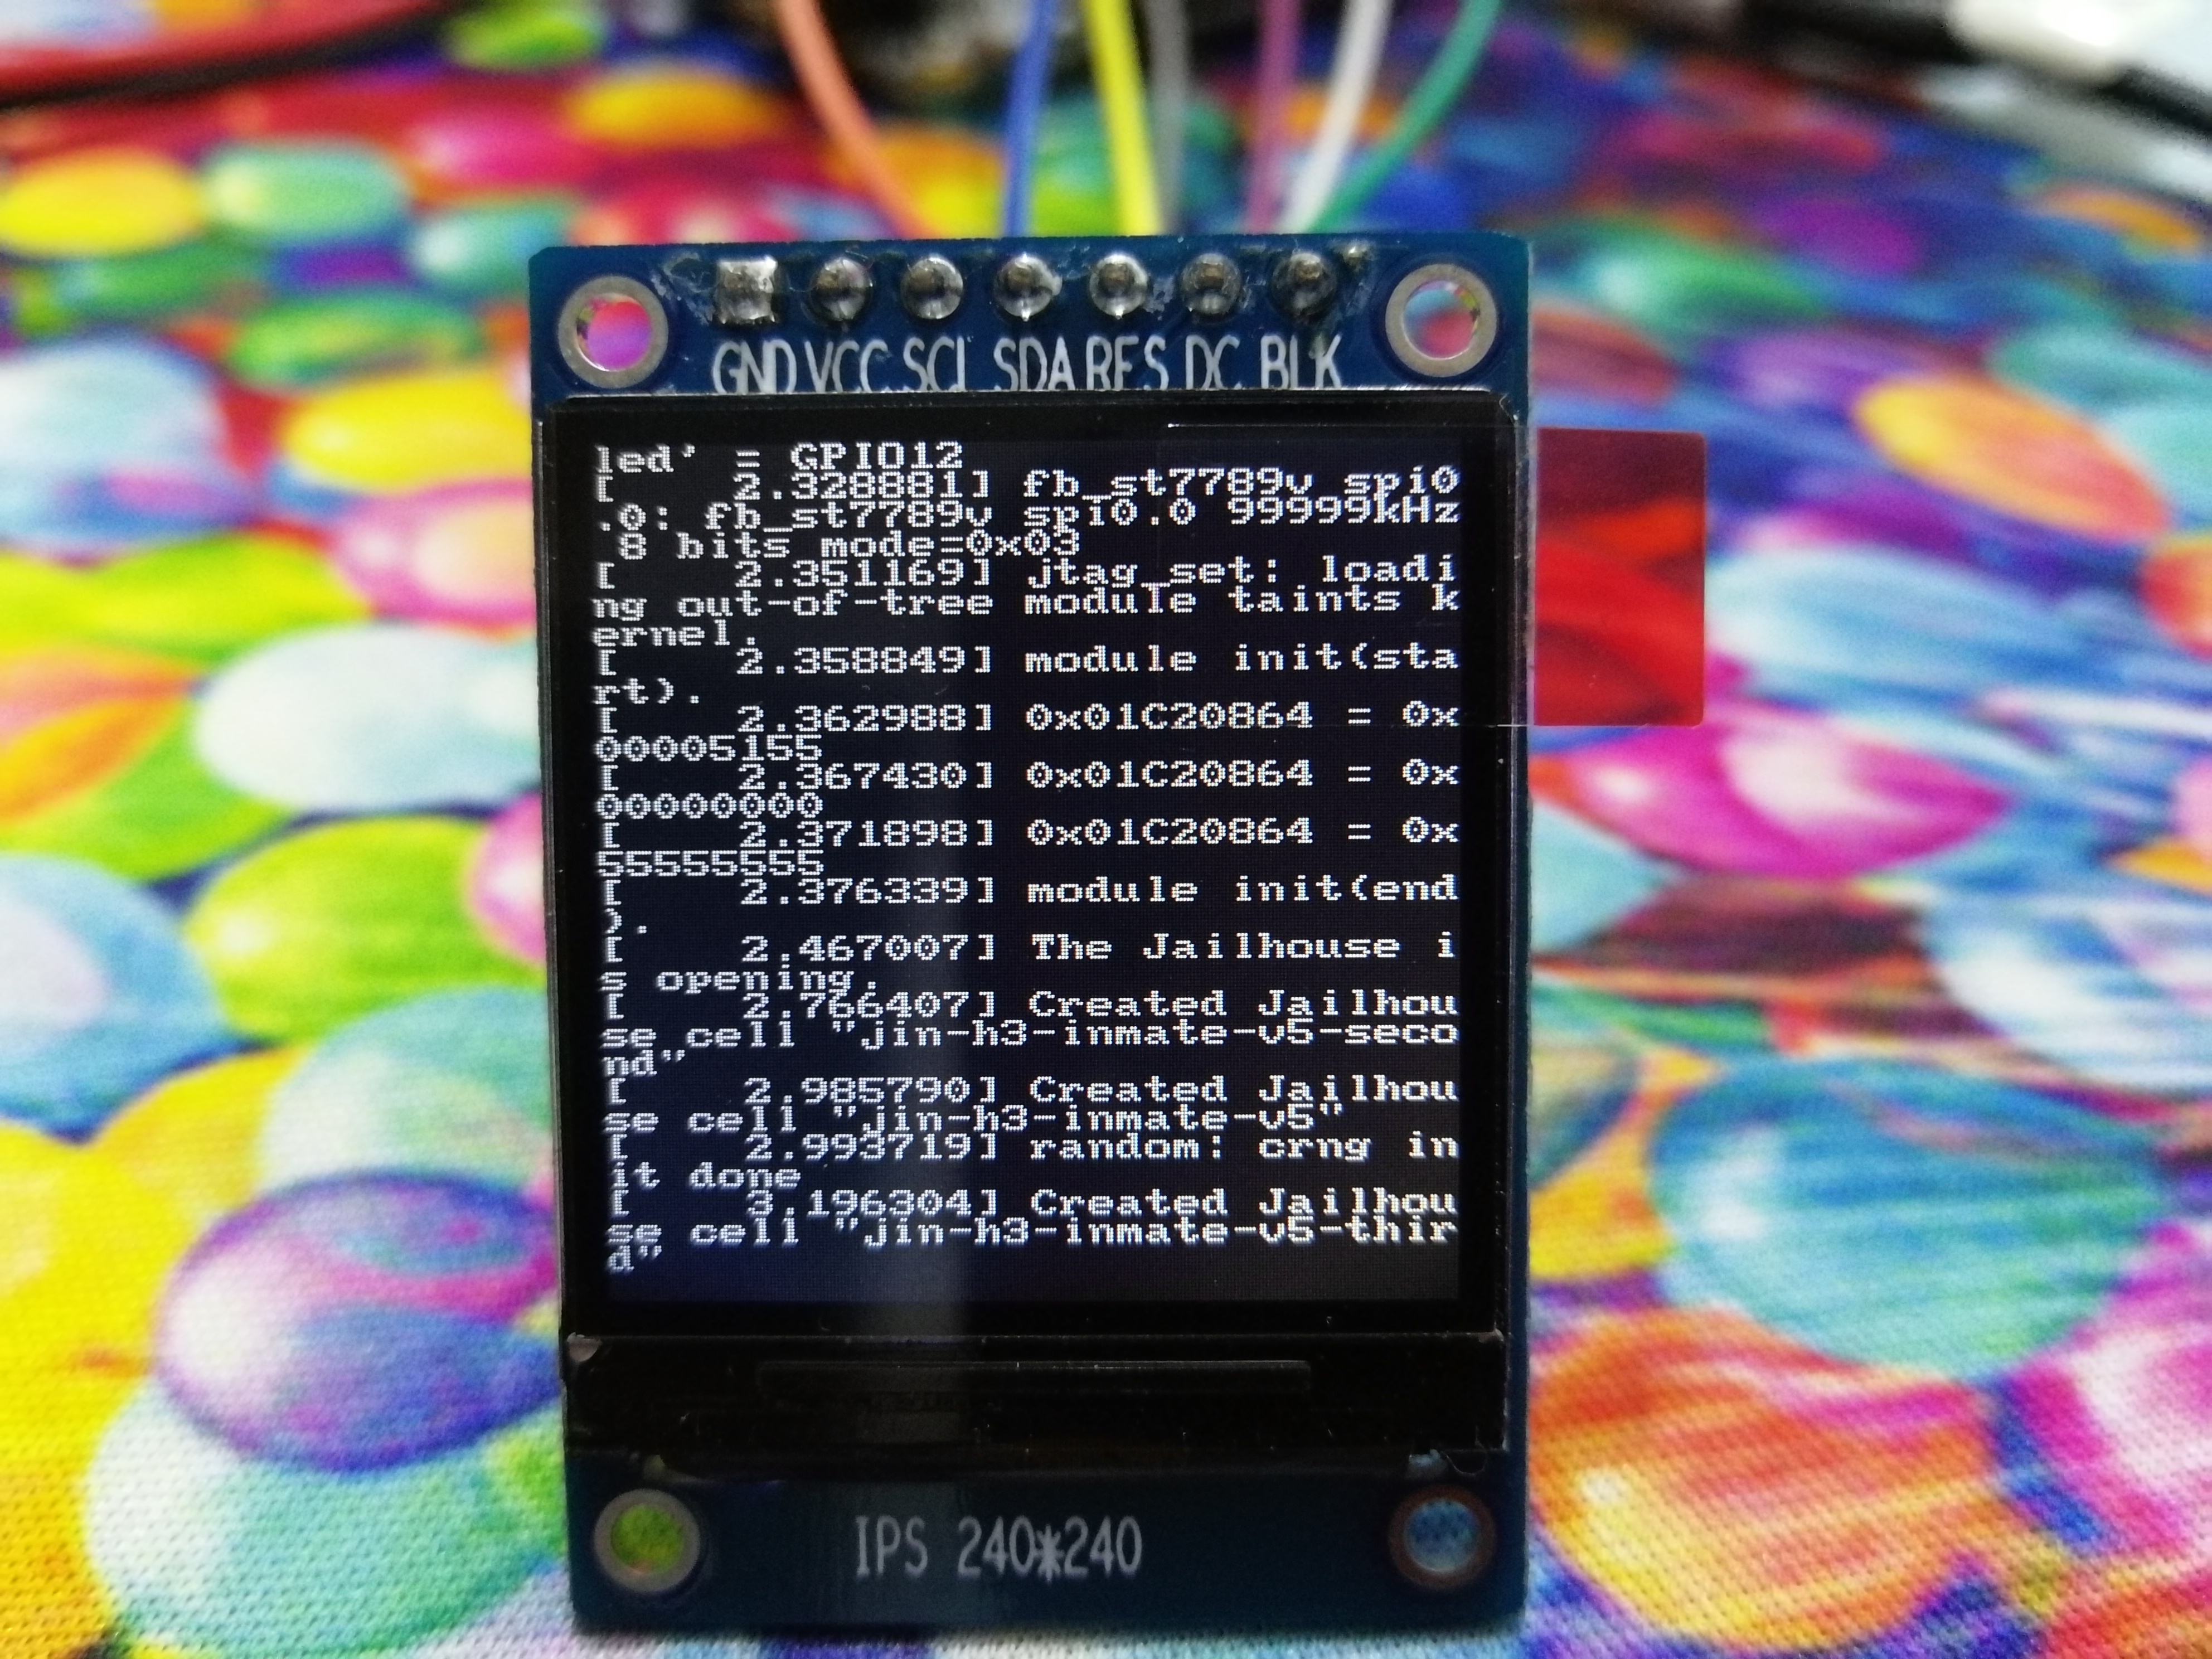
5.启动fbtft
5.1 启动tftfb内核模块
modprobe fbtft_device name=ips13 busnum=0 speed=99999999 fps=60
5.2 查看设备
ls /dev/fb*